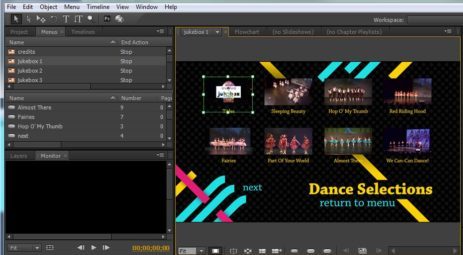
menu layout timeline and settings
I always had a hard time creating chapter selection menus in Adobe Encore until I started writing down what I was trying and where it failed.
Since there was often a gap between disc projects that needed it, I had to look up tutorials and try to find the one that helped me the last time. Nobody writes things down, ; they were always videos, and the Adobe help site was no help. They start in the middle, assuming you already know what’s being talked about or you’ve already done certain steps to arrive at the current section, but there is no flow or timeline to their material. It’s really strange to me. So are the themes but that’s another story.
So I use an great app called Stickies from zhornsoftware.co.uk that lets me put post-it style notes on my computer screens, save, store, delete and search them and send them across network or email, that’s another post, but here’s my sticky on how to do Encore chapter menus, annotated for clarity.
encore chapter menus (aka scene selection menus)
under menu> create chapter index (that’s where you start it, AFTER YOU ARE READY)
First create menu with links, buttons, all the things you want on your scene selection menu. You do this in the layout window, so it’s visual and WYSIWYG.
I tend to uncheck Automatically route buttons as it frequently picks weird orders for me on certain button placements. This may be because I open a thumbnail menu and copy stuff to wedge more previews in to one page. We have big TVs nowadays, I think they can handle 6 or 8 thumbnails instead of three. (When you do that you may not want to animate them, lots of flashing and also disc size considerations.)
Make sure everything is placed correctly and doesn’t overlap, of course.
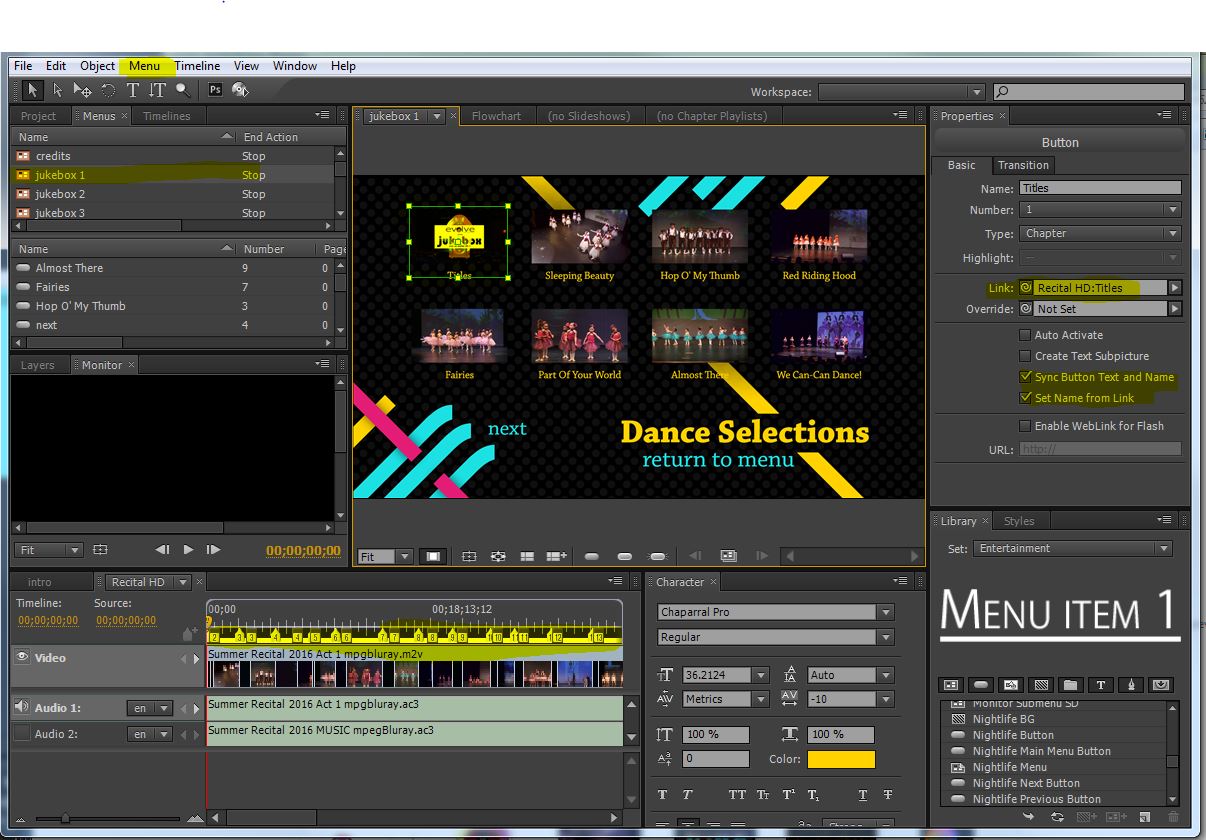
This is a good time to check your timeline and fine-tune the preview thumbnail, which is usually a second or so beyond the chapter point but can be dragged anywhere on the timeline. You should do that earlier but who does that? — so check it now. Open the timeline you are creating the chapter menu for, place the position line over the desired frame and right-click the chapter to Set Poster Frame. You can do this even after you create the menus; sometimes that is easier because the automatic choice can work; it’s a bear when you do dark fade ins though.)
I also add a Chapter point in the last few seconds of the show, usually right at the copyright-contact me title. This let’s you zip to the end and watch the video roll over to the menu. Great for testing when you don’t want to wait through the whole end credits. I usually DELETE that index thumbnail from the scene selection after creating the menus. It’s nice to skip to the end while watching, but you don’t use scene selection to watch the last five seconds unless it’s a Marvel movie.
Select the first thumbnail in the layout window (or text button entry) and under Button properties (Basic tab) click Set button text and name and “set name from link” to let the menus show the titles of your scenes (presuming you have done that prep work and named your scenes in Premiere when creating the Encore chapters. You did create Encore chapters right? Because regular chapters are ignored if they don’t say “Encore” Grrrr.).
Originally I would copy a menu and in properties deleted existing links; sometimes I start with a clean menu, but often I recycle previous projects and modify the style and links around a layout I liked.
Now with the first thumbnail or text button selected, under link, choose first chapter of your desired timeline
Save your project now….
Menu>Create chapter index (Once I had left out a “previous” button and it automatically created it but not in the right style. So if you got no style, it will help, but not beautifully.)
Don’t choose MULTIPAGE, that’s for bluray popup menus.
Boom, Bunch of menus!
If they look good, congratulations. Test them.
If they don’t look right, well, disaster recovery:
Before I “create chapter index”, I save the project, so I have a backup in case it’s terrible and I want to delete and start again. For the same reason I also like to choose my final draft template scene selection menu, then in the Encore menu choose Edit>Duplicate so I have a backup of it as just a menu and can try again quicker than restoring my last save.
To reset and try again, you clear all the numbered menus in the list – EXCEPT “menuwhatever1” if you didn’t make a copy – rename it without the number and edit as needed. Then duplicate your “final draft” menu and try again. If you didn’t make a copy you will want to delete all the extra menus except the first, then in that you delete the thumbnail and text links for all the buttons after the first chapter, not the buttons themselves but the links in them.
Hope this saves you as much time as it does me. And yes I expect it will take you a couple of tries. That’s called “getting familiar with the process.”
— David
P.S. Discovered with joy I could reuse my chapter indexes when I converted my Blu-Ray project to DVD size (there are several methods but I just save a copy with a DVD in the filename and trade out the project medi by importing the DVD renders and replacing them in the timelines. (you can actually save the audio track if you are brave and it is EXACTLY THE SAME LENGTH).
Sadly thumbnails for half of one timeline were one quarter sized like the media (HD versus SD) for some reason*, but not the other. Fixed by reselecting the Poster Frames.Not too bad.
*This may have been an out of memory situation, where the thumbnails weren’t rerendered on import because my C drive was filled up even though the scratch disks are on different drives. Oh Adobe, you do like to make cache files everywhere and never clean up after yourself. It was cute when you were a teenager but give me a break.
P.P.S. Google “clear adobe cache files” and you will find useful pages like this: Managing the Media Cache Database. That one is for the Media encoder but there are similar management buttons under preferences in all their programs.
Leave a Reply